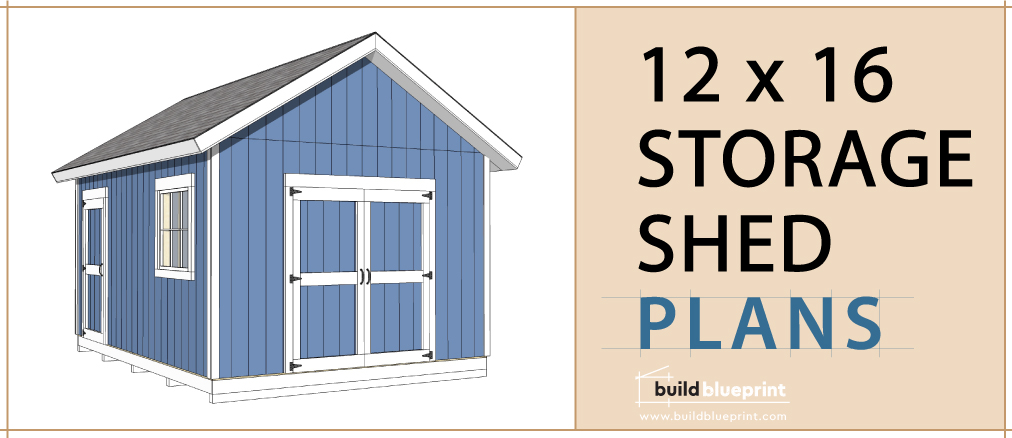
Alright, you wanna build a shed, huh? One that'll stand strong for years to come, not some flimsy thing that falls apart after a few seasons. 12x16, perfect size for storage or a little workshop, right? Let's break it down, step by step, and make this a shed you can be proud of.
First Things First: The Foundation
Think of the foundation as the bedrock of your shed. Without a solid base, everything else is gonna wobble and shift. You've got a few options here, each with its own pros and cons:
Concrete Slab: This is the most durable choice. It's basically a mini-concrete driveway for your shed. It'll keep your shed level and dry, but it's the most expensive and requires some serious work. If you're into DIY, but maybe not that into DIY, this might not be the best option.
Concrete Block Foundation: These are strong, readily available, and relatively easy to work with. You'll lay them out in a rectangular shape, forming a perimeter for your shed. It's a bit less expensive than a slab, but still requires some concrete work.
Pressure-Treated Skirts: This is the more budget-friendly option. You'll create a frame out of pressure-treated lumber, set it on the ground, and then secure it to the shed's floor joists. It's less labor-intensive than concrete, but it's not as durable in the long run.
Pick your poison, or rather, pick your foundation. Let's assume we're going with a concrete block foundation, since it's a solid middle ground.
Laying the Foundation
1. Dig it Out: Start by digging trenches for your foundation blocks. The trench should be deep enough to account for the height of the blocks plus a few inches for gravel.
2. Lay the Gravel: Pour a layer of gravel into the trenches to create a drainage base. You want the gravel to be at least 4 inches deep.
3. Lay the Blocks: Now, the fun part. Start laying the blocks in your trenches. Make sure they're level and that the corners are square.
4. Mortar Time: Use mortar to secure the blocks together, making sure it's filled in tightly. You want this foundation to be rock solid!
Frame It Up
Time for the skeleton of your shed. You're going to be building a frame with walls and a roof using pressure-treated lumber. You'll want to use 2x4s or 2x6s for the framing depending on the weight of your roof and the load you'll be putting on the shed.
1. Building the Floor: Start by constructing the floor joists. These are the beams that support the floor of the shed. Attach them to the foundation blocks using ledger boards and lag screws.
2. The Walls: Now, you'll build the wall frames, which are essentially rectangles made of studs. You'll attach the walls to the floor joists and then to the foundation blocks using a combination of framing nails and screws.
3. The Roof: This is where things get a bit more complex. You'll have to decide on a roof style, which can be either a gable roof (the classic triangle shape) or a shed roof (flatter, with one slope). Whichever you choose, use 2x4s or 2x6s for the rafters, which will form the framework of your roof.
Sheathing and Siding
Now that you've got the skeleton of your shed standing proud, it's time to cover it up.
1. Sheathing: This is the layer of plywood or OSB that you'll attach to the walls and roof. This provides a smooth surface for siding and helps to give the shed its strength. Use structural screws or nails to secure the sheathing.
2. Siding: Now it's time to give your shed a face! You've got a lot of choices for siding, from vinyl to wood to metal. Choose one that suits your style and budget.
Roofing and Finishing Touches
Almost there!
1. Roofing: You'll want to choose a good quality roofing material that's both durable and watertight. Asphalt shingles are a classic and affordable option, but you can also explore metal roofing, which is more durable.
2. Doors and Windows: Install your doors and windows. This part is fairly straightforward, just make sure you install them correctly so they seal well.
3. Finishing Touches: Add trim, paint, or stain to finish off your shed. Don't forget to install any other necessary features like gutters, downspouts, and flashing to protect your investment.
Building a Shed is a Labor of Love
Remember, this is just a general guide. There are many variations and details to consider. It’s a good idea to check with local building codes and regulations before you start.
Safety First
Building a shed can be a challenging task, so always prioritize safety. Wear proper safety gear like gloves, goggles, and hearing protection. Work with a friend if you're not comfortable doing it solo.
And Finally, Enjoy Your New Shed!
There you have it, a shed that’s built to last. You've poured your sweat and time into it, and now it's a place to store your stuff, work on projects, or just relax and enjoy the view. Congratulations, you're officially a shed master!


No comments:
Post a Comment
Note: Only a member of this blog may post a comment.